Showing posts with label Breads. Show all posts

Thursday, January 20, 2011

MOLASSES WHOLE WHEAT BREAD and BEST-EVER FRENCH BREAD

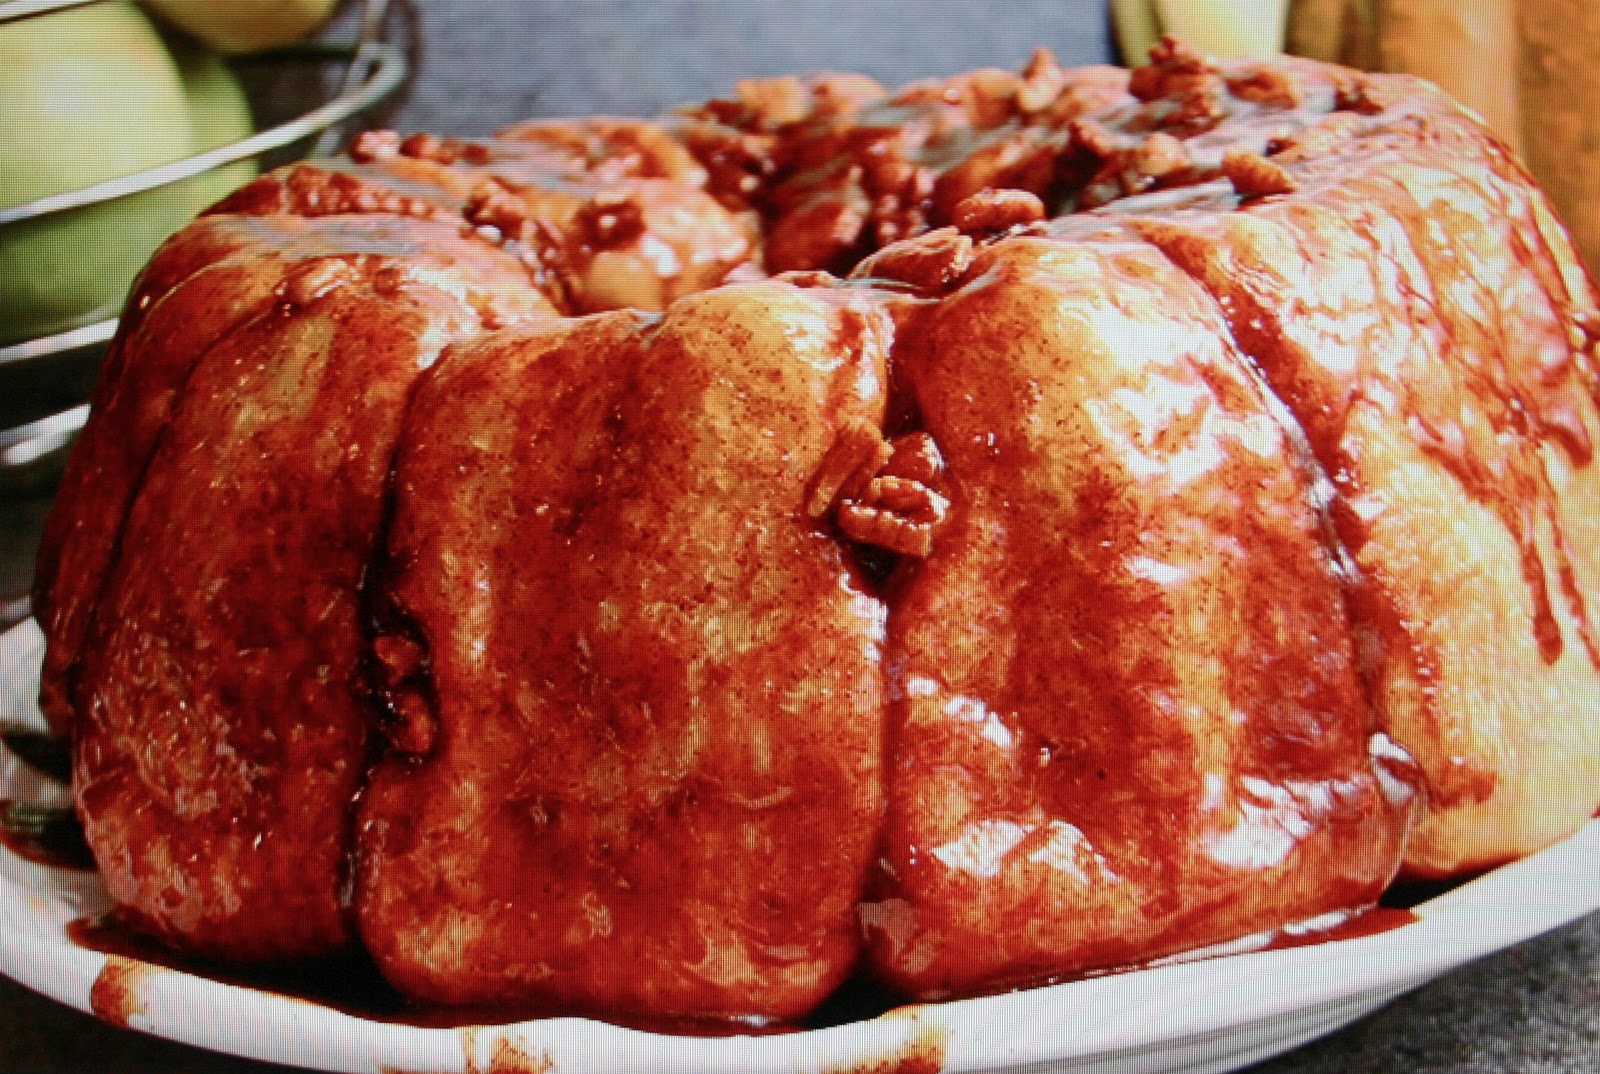
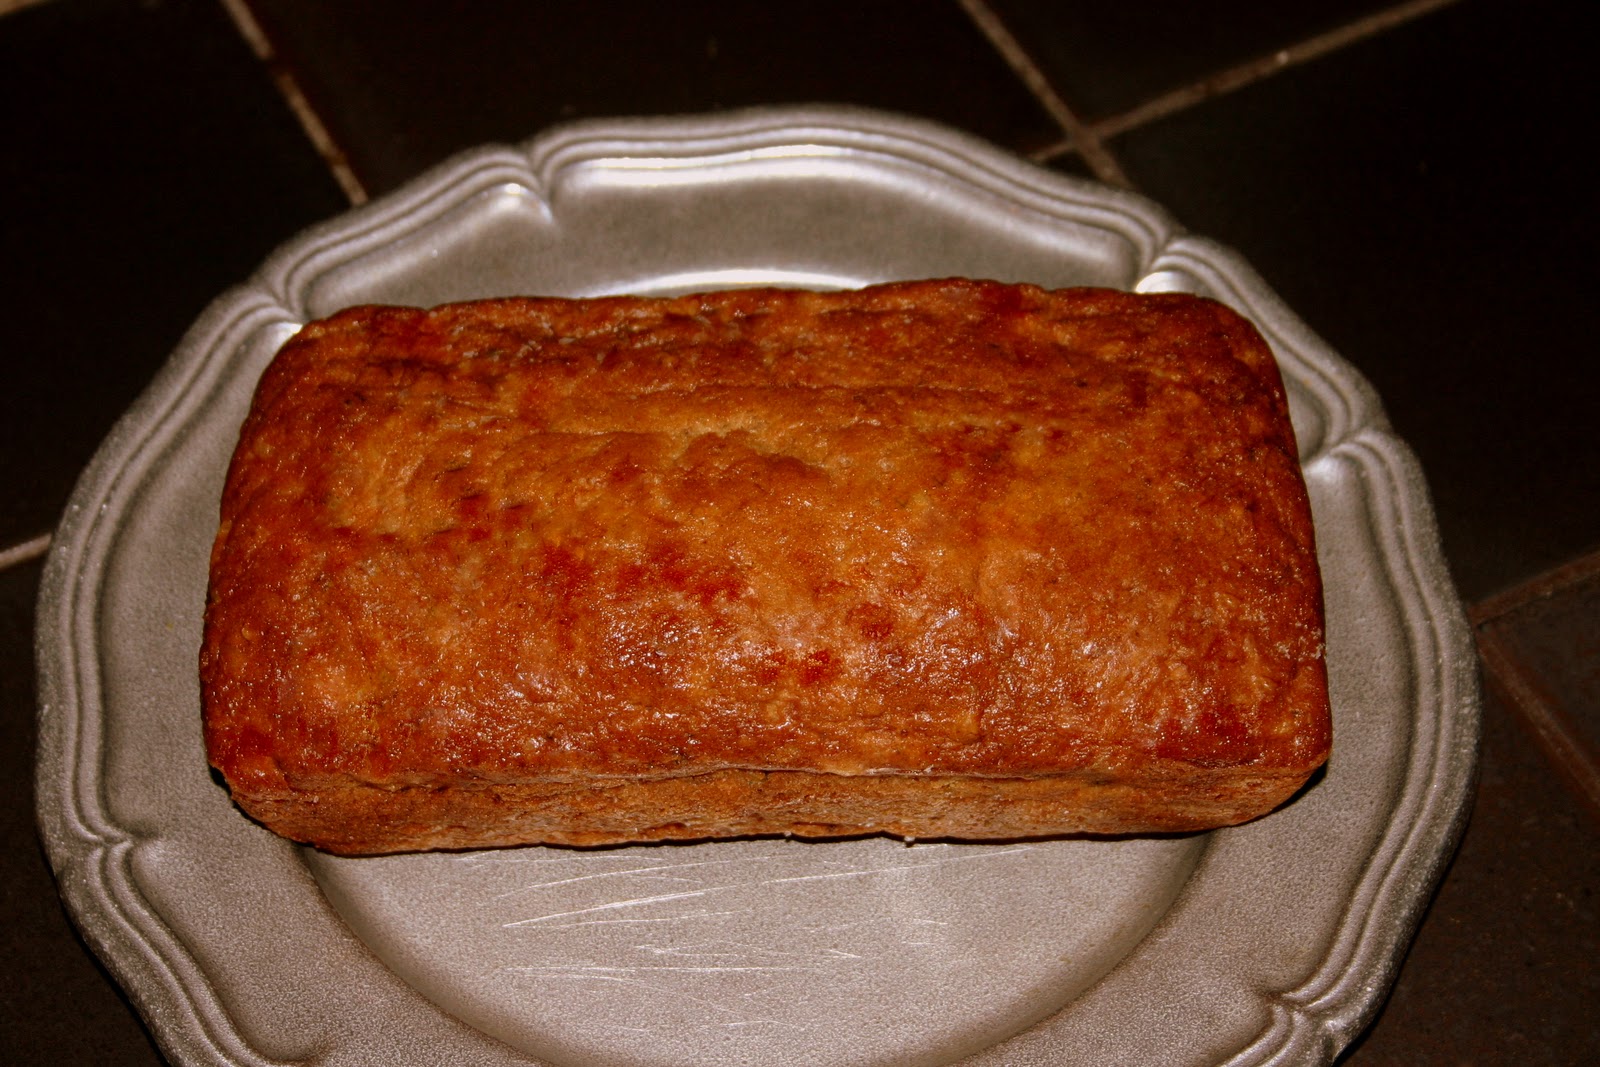
These recipes for MOLASSES WHOLE WHEAT BREAD and BEST-EVER FRENCH BREAD are family favorites--having been in our family of bread makers for many, many years.  I've truthfully never tasted better of either bread!  The WHOLE WHEAT MOLASSES BREAD uses molasses, giving it a nutty, sweet taste.  You make a sponge first, using some white flour, letting it rise for an hour.  Then you add the rest of the ingredients, among them, molasses and whole wheat flour.  It is a soft, tender, sweet, whole wheat bread--and it makes wonderful toast and sandwiches!  I always double the recipe, to make 6 loaves.  It freezes super well. 

MOLASSES WHOLE WHEAT BREAD
Sponge:
2 cups warm water
2 teaspoons salt
4 cups white bread flour
1 Tablespoon yeast
2 Tablespoons sugar
Soften yeast in 1/4 cup of the warm water.  Add sugar, salt, and the white flour.  Beat until smooth in bread mixer.  Cover and let rise for 1 hour, then add:
1/4 cup shortening
1/2 cup hot water
1/2 cup molasses
Whole wheat flour
Beat 3 first ingredients into the sponge.  Beat well.  Add whole wheat flour, 1 cup at a time, until you have a soft, but not sticky, dough. Knead well.  Let rise for 1 hour.  Punch down, then divide into 3 loaves.  Roll up jelly-roll style.  Put in greased bread tins and let rise for 45 minutes.  Bake at 350 degrees for 35 minutes, or until nicely browned.  When done, turn out on racks to cool.  Ummmmm, good!

This recipe for FRENCH BREAD is absolutely fantastic!  It's soft and tender inside, and is crunchy and crusty outside, true to a great French bread, and is perfect in every way!  Make it with or without sesame seeds on top.  With their diagonal slits on top, the loaves look professional.  After you've had homemade French bread, it's hard to eat store-bought.  I also use the recipe to make soup bowls, which are 'super'!  (pun intended)  As always, use a bread flour, it really makes a difference in the quality of your breads and rolls. 

BEST-EVER FRENCH BREAD
2 1/4 cups warm water
1 1/2 Tablespoons sugar
2 1/4 teaspoons salt
1 1/2 Tablespoons yeast
1 1/2 Tablespoon shortening
white flour (approximately 6 cups)
1 egg white, beat stiff
Dissolve yeast in 1/2 cup of the warm water.  Mix remaining warm water, sugar, salt, shortening and softened yeast.  Add flour, 2 cups at a tie, mixing after each.  Add enough to make a stiff, but not sticky, soft dough.  Knead 10 minutes by hand or 2-3 in a bread mixer.  Cover and let rest for 10 minutes.  Punch down after 10 minutes.  Continue to punch down every 10 minutes, for an hour.  Divide dough into 3 loaves.  Roll out jelly roll style.  Put the loaves on a greased, big school cookie sheet.  With a sharp knife, slash the tops about an inch or so down at at angle, 6 times.  Pat with the stiff egg white. and sprinkle with sesame seeds.  (Omit this step if not adding sesame seeds--the egg white acts as a glue to keep them on).  Let loaves rise for 1 1/2 hours.  Bake in preheated oven at 350 degrees until done, about 35 minutes, or until golden.  Cool on rack.  Delicious hot out of the oven!  Store extra in airtight bags.  Freezes well.  NOTE:  I buy French bread plastic bags at my local bakery--the regular gallon-size freezer bags aren't long enough.   TO MAKE SOUP BOWLS:  Divide dough into 12 equal balls (or adjust number if you want a different size).  Place on greased baking sheets.  Let rise until double in size.  Bake at 350 degrees until golden, about half an hour. 

Friday, January 14, 2011

EASY STICKY ROLLS and VARIATIONS

If you're looking for an easy, fast way for sticky rolls, this is the recipe for you.  Just use frozen roll dough, some butter and cinnamon and sugar, and some nuts, if desired, and in the time it takes to rise and bake, you're left with a yummy 'homemade' taste that is sure to please!  I like to serve these with sweet and sour chicken over rice, and a fresh fruit--no need for a dessert!  Another way we like them is to leave the dough and glaze mixture, covered,  in a cold oven overnight.  Take out and preheat the oven first thing and bake.   Serve with fresh fruit and an omelet or a quiche.  Here are several variations that we have used.  Kids love to help make these--just make sure you allow plenty of time (6-8 hours or over night) for the frozen rolls to rise.

EASY STICKY ROLLS
18 frozen dinner rolls
1 cube butter, melted
1-2 teaspoons cinnamon
1/2 cup packed brown sugar
1/2 cup pecans (opt.)

Melt butter, add brown sugar and cinnamon, making a thick glaze-like mixture.  Set aside.  Place frozen dinner rolls in a GREASED bundt pan, staggering them, until you have placed 18 around the bundt pan.  Spoon cinnamon/butter/and, if desired, nuts, mixture evenly over the frozen rolls.  Spray some plastic wrap with cooking spray.  Place over bundt pan of rolls and let rise until the has doubled to the top of the pan  (this could take as long as 6 hours--check your roll dough package for approximate rising times).  Preheat oven to 350 degrees and bake about 20 minutes, or until rolls are golden brown,  Invert into a tea towel lined basket.  The glaze will drip down over the inverted rolls.  These are yummy!  NOTE:  The cinnamon mixture and butter could stain your towel, so my recommendation is not to use a nice linen towel or napkin.

YUMMY STICKY ROLLS USING VANILLA PUDDING
15-18 frozen dinner rolls
1 5-oz pkg instant vanilla pudding
1 cup brown sugar, packed
2 teaspoons cinnamon
1/2 cup butter, melted
1/2 cup pecans
Sprinkle nuts in a greased bundt pan.  Arrange frozen dough.  Sprinkle with dry pudding mix, then brown sugar, then the cinnamon.  Pour melted butter over.  Put in a cold oven with a damp paper towel over it for overnight.  In the morning, remove the paper towel and place in oven, baking at 350 degrees for 25 minutes.  Let sit for 5 minutes, then flip onto serving plate. 

OUR FAVORITE BUTTERSCOTCH STICKY ROLLS
15-18 frozen dinner rolls
1 pkg butterscotch pudding (not instant)
1/4 cup butter
1/2 cup butter
1 cup pecans
cinnamon
Grease bundt pan.  Sprinkle 1/2 the nuts in pan.  Arrange frozen dinner rolls, then sprinkle the dry butterscotch pudding.  Cut together the brown sugar and the butter.  Sprinkle over the dry pudding mix.  Sprinkle with remaining nuts.  Cover with plastic wrap that has been sprayed with cooking spray.  Put in a cold oven overnight, or for 6-8 hours.  Bake in a preheated 350 degree oven and bake for 20-30 minutes.  Let sit for 2-3 minutes.  Invert onto serving plate and let the butterscotch mixture drip down. 

Thursday, January 6, 2011

AMISH FRIENDSHIP BREAD STARTER AND RECIPES

If you want to start a fun neighborhood or family "friendship" thing going, this AMISH BREAD STARTER is easy, and is the kind of thing that, like the Energizer Bunny, keeps going and going.  My neighborhood had it going a few years ago for quite some time.  It wasn't unusual to go into homes and see a bag, or two, or three of the Ziploc "bags that needed to be mushed" on counter tops.  Men, women and children were all taking part--and making delicious breads and cakes from the starter, to boot!   Posted is the recipe to make your starter, and directions on how to maintain it, as well as recipes for the yummy breads or cake.

AMISH FRIENDSHIP BREAD STARTER
Day 1    1 Cup milk     Mix in large GLASS or CERAMIC bowl, NO METAL spoons
             1 Cup sugar    Use heavy-duty gallon-size Ziploc baggies
             1 Cup flour     Burp, leave open 1"- DO NOT REFRIGERATE
Days 2-5 Leave it alone to bubble
Day 6     Knead baggie once
Day 7    1 Cup sugar    Mix these ingredients together, then add to ingredients
              1 Cup flour      in the baggie
              1 Cup milk
Days 8-9   Knead the baggie once a day
Day 10    1 Cup sugar    Mix these ingredients first, then feed the ingredients in
               1 Cup flour      the baggie
               1 Cup milk
Day 11    Today you can take out 1 Cup of the starter for baking,
               You can give 1-3 Cups to 1-3 friends, & continue to maintain
               any starter you have left.  (Keep track of your starter with
                a chart so you won't get mixed up on the days).
MAINTAINING YOUR STARTER: 
WHEN AIR FORMS IN THE BAG AND IT GETS PUFFY, LET OUT THE AIR AND RESEAL.  IT IS NORMAL FOR THE BATTER TO RAISE, BUBBLE AND FERMENT.  When your starter is first ready for baking, remove the amount needed for the recipe and remove 1 Cup (or  up to 3 bags with 1 Cup each), to give to friends.  Leave the rest of the starter on the counter in the Ziploc baggie.  Knead it once a day and feed it every 5th day with 1 Cup flour, 1 Cup sugar, and 1 Cup milk.  (The easiest way to select feeding days is to use calender dates that can be divided by 5, like the 5th, 10th, 15th, 20th, 25th and 30th).  You may have to skip a day or two to get on this schedule, but that won't hurt, as long as you make sure to knead it every day. 

You can remove starter any day you want for baking or giving away.  Always leave a cup in the starter baggie and continue feeding every 5th day.  The feeding schedule should give you all the starter you want on a regular basis.  Always take out 1 or 2 cups after feeding.  If you don't need any starter for baking or giving away, you will still have to take some out and discard it, so you might as well give it away!  This way, you will always have a manageable amount of fresh starter. 

Every 30 days transfer your starter to a new Ziploc baggie.

AMISH FRIENDSHIP BREAD
1 Cup starter
3/4 Cup oil
3 eggs
2 Cup flour
1 Cup sugar
1 teaspoon baking powder
1/2 teaspoon baking soda
1/2 teaspoon salt
1-2 teaspoons cinnamon
Place starter in large plastic bowl, and use a non-metal spoon for mixing.  Add oil. Mix.  Add 3 eggs and mix well.  Add the dry ingredients and stir together until blended.  Pour into 2 greased and cinnamon-sugar coated loaf pans.  Sprinkle tops with more cinnamon-sugar.  Bake at 350 degrees for 40-50 minutes, or until done, when a toothpick comes out clean from the center of the bread.

AMISH FRIENDSHIP CAKE
1 Cup starter
1 Cup sugar
2/3 Cup oil
2 eggs
2 Cup flour
2 teaspoons baking soda
2 teaspoons cinnamon
2 teaspoons vanilla
1/2 teaspoon salt
1 Cup chopped walnuts or pecans
1 15-oz can crushed pineapple, drained
1/2 Cup raisins (optional)
1 Cup packed brown sugar
1/4 Cup butter
1 Tablespoon flour.
Place starter in large plastic bowl--remembering not to use metal spoons for mixing.  Add sugar and oil.  Mix.  Add eggs and blend well.  Add the rest of the ingredients up to the nuts and stir until blended.  Add nuts, drained pineapple and raisins, if desired.  Pour into a greased and floured 9X13" cake pan.  Mix until crumbly the brown sugar, butter and flour.  Sprinkle over the batter in the cake pan and bake at 350 degrees for 35-40 minutes. or until toothpick comes out clean.  NOTE:  Variations are unlimited:  Chocolate Chips, Coconut, Cranberries, Blueberries, Strawberries, etc. can be added, as well as different chopped nuts.  Use your imagination.  Scrumptious!  Super moist and heavy.

AMISH FRIENDSHIP BREAD DELUXE
1 Cup starter
1 Cup oil
1/2 Cup milk
3 eggs
1 teaspoon vanilla
2 Cups flour
2 teaspoons cinnamon
1/2 teaspoon baking soda
1/2 teaspoon salt
1 1/2 teaspoon baking powder
1 large box instant vanilla pudding, dry
Preheat oven to 325 degrees.  Grease and, using a mixture of 1/4 Cup sugar and 1 teaspoon cinnamon, use portion of the mixture to sugar 2 loaf pans or one large bundt pan. Mix all ingredients together.  Pour batter into pan(s) and sprinkle remaining sugar mixture on top.  Bake 1 hour, or until done.  Let stand 10 minutes before removing from pan.  OPTIONAL:  Add nuts, chocolate chips, coconut, etc.  NOTE:  Mini loaf pans, bake about 45, or until toothpick comes out clean.  Muffins, bake 20-25 minutes.

Friday, December 24, 2010

SQUAW BREAD - BEAUTIFUL AND DELECTABLE

Another of our favorite family recipes for bread is a recipe my mother worked up several years ago for Squaw bread.  She took a recipe that came in my daughters bread machine, and fine-tuned it and adapted it for our bread making needs.  It is my favorite, with the rye bread coming in a close second.  This dough, which has rye flour, whole wheat flour, and white flour, is sweetened with brown sugar and honey.  I make it in rounds, and it's easy to get a perfect, round loaf with this fun-to-work-with dough.  The aroma is wonderful as it bakes, and I don't think there is another bread that I like better toasted with homemade freezer jam on!  It is also unequaled with albacore, lettuce and dill pickle, or melted cheese!  Just thinking about it makes my mouth water!  I've just made my traditional Christmas-baking loaves of rye, squaw, and white breads for all of us to enjoy during the holidays--something I not only look forward to making, but the family can hardly wait as well!   These loaves make an especially nice gift at Christmas, and, as with all breads I make, freeze extremely well, for several months (although they never last that long!)  I hope you try this wonderful recipe--you won't be disappointed!

SQUAW BREAD
5  Cups water
2 Tablespoons yeast
1/2 Cup honey
1 Cup brown sugar, packed
1/2 Cup oil
1 1/2 Tablespoons salt
4 Cups whole wheat flour
3 Cups rye flour
7 Cups white flour (give-or-take)
Dissolve yeast in 1/4 Cup of the water.  Let work.  Meanwhile, add the rest of the water, honey, oil, brown sugar, and salt in a large mixing bowl or bread mixer.  Mix.  Add the whole wheat and rye flours.  Mix well.  Add softened yeast.  Mix.  Add white flour, a cup at a time, until the dough is soft, but not sticky.  Knead well.  Let rise for 1 hour.  Punch down, and divide into 6 balls, forming nice, round balls.  Place balls on big school cookie sheets, three to a sheet, as far apart as possible.  I put one in the middle on one side, then the other two on opposite sides along the sides of the sheet.  Cover and let rise for 1 - 1 1/2 hours.  Bake at 350 for 36 minutes, or until nicely browned.  HINT:  You may bake both pans at once.  Raise the top shelf in your oven and put in both pans.  Halfway through the baking time,  trade places with the cookie sheets and finish baking.  After baking, remove from sheets and cool on racks.  Serve hot out-of-the-oven, warm, room temperature, or keeps well  in the refrigerator.  Great to freeze!  NOTE:  I always add 1 Tablespoon of sugar to the yeast I have softening in all my breads--it makes it "work" faster. 

Thursday, December 23, 2010

MY FAVORITE BLUE RIBBON RYE BREAD

This recipe, in our family for many years, is, hands down, the best rye bread recipe ever!  (I don't even like the rye bread from the store--it seems sour to me).  But, this one takes the Blue Ribbon!  I entered it in our county fair, and it got Sweepstakes-Best-of-Show that year.  This is the bread recipe that Taste of Home featured in their Dec/Jan 2010 issue in their "Mom's Best" section, where I was the featured "Mom."  What can I say other than it is super tasty!  I don't know of anyone who has tasted it that doesn't just love it.  It is my kids' favorite bread that I make.  But you don't need to take my word for it, just try it yourself!   I give this bread, as well as my Squaw bread, which I will post tomorrow, quite often to friends and neighbors at Christmas time.  Just put it in a nice cellophane bag, tie with a pretty ribbon, and it's ready for gift-giving, along with a small decorative jar of homemade strawberry or raspberry freezer jam.  I've had people tell me they are waiting for ther 'loaf' of bread at Christmas.  It's an easy gift to make ahead and freeze, then take out of the freezer and unthaw for gift-giving.  I like it many ways, but my two favorite ways are toasted, and for sandwiches--I love cheese on it--especially Swiss cheese!  The dough is soft and pliable, and easy to work with.  I like to make mine free-standing, rolled up jelly-roll fashion, placing the dough on big school cookie sheets to bake, three to a sheet.  My daughter and mother have begun using bread tins, but I think it looks best free-standing.  One thing we all agree on, though, is that it's one of the best bread recipes we've ever made!   I know you'll love it!  When you buy your flour, be sure to buy bread flour--it does make a difference in your bread and rolls.  Also, the rye flour should be a light rye flour.  This recipe makes 3 loaves, but if you want to make six like I do, just double the recipe.  HINT:  To bake all 6 at the same time, I place 3 to a cookie sheet, raise one of the baking shelves in the oven, and bake both at the same time.  After half of the baking time, change the sheets around, putting the one on top on the bottom and vice-versa, then finish baking for the other half of the time. 

RYE BREAD
2 Cups warm water
1/4 Cup brown sugar, packed
1/4 Cup molasses
1/4 Cup shortening
1 rounded teaspoon salt
1 Tablespoon caraway seeds
1 Cup rye flour
White flour (approx. 4 - 4 1/2 Cups)
1 Tablespoon yeast, softened in 1/4 Cup warm water
Combine water, shortening, molasses, brown sugar, and salt in a big bowl, or bread mixer.  Dissolve yeast in warm water and "let work" then add to mixture.  Add rye flour.  Beat well.  Add enough white flour, 1 cup at a time, to make a soft, but not sticky, dough.  Knead well, 10 minutes by hand or 2 minutes by bread mixer.  Cover and let rise 1 1/2 hours.  Punch down and divide into 3 loaves.  Roll up jelly roll style, as for French bread.  Place on greased big cookie sheet, three to a sheet as pictured, as far apart as possible.  Let rise 1 hour.  When ready to bake, you need to release air bubbles that have formed in the rye bread.  To do this, I take a long cake tester, but you could use a long needle, or anything that can pierce the dough with just a tiny hole.   I make about 15 pierces, three to a row and 5 rows, of these small piercing holes.  Bake at 350 degrees for 35 minutes or until nicely browned.  Remove from pans and cool on rack.  This bread freezes super well, for months!  It is good fresh from the oven, or cold from the refrigerator if you store it in there, although you don't need to.  Keep in airtight bags when storing.  Enjoy!

Wednesday, December 15, 2010

GOURMET ZUCCHINI BREAD WITH VARIATIONS

Like most of my recipes, this is an old family favorite for ZUCCHINI BREAD.  It is heavy and moist, and the different variations make it a universal recipe.  We have a joke around here that one zucchini plant feeds the whole neighborhood!  So when I harvest the zucchini, I grate it and make up a big batch [I've quadrupled (4x) this recipe very successfully].  Or, if I don't have the time to bake the bread, I grate it and freeze it in Ziploc bags in the amounts that I'll need to bake later on.  Then when I'm ready to make it, I just unthaw, drain (if needed) and make a batch  or two of the aromatic, tasty bread.  So even in the winter months, when fresh home-grown zucchini isn't available, I can still make the homemade loaves!  The recipe has 5 different variations:  Chocolate Chip, Crushed Pineapple, Raisin, Coconut or Cranberry.  All have nuts in them, but that, of course, is optional. I love them all!  This bread also freezes very well for several months.

GOURMET ZUCCHINI BREAD 
2 Cups sugar
1 Cup oil
3 eggs
2 Cups grated zucchini
2 teaspoon soda
1 teaspoon salt
1/2 teaspoon baking powder
1 Tablespoon cinnamon
1 Tablespoon vanilla
3 Cups flour 
1-3 Cups coarsely chopped nuts (walnuts, pecans, slivered almonds)
Grate zucchini.  Mix together zucchini, oil.  Add sugar and beat.  Add eggs and beat well.  Add spices and dry ingredients except flour.  Mix well.  Add flour, stirring well.  Add ingredients for the variation you want, then bake at 325 degrees until done, about 45 minutes, or until a toothpick comes out clean.  Turn onto racks and cool.

VARIATIONS:  Chocolate Chip:  Add 1 large package milk or semi-sweet chocolate chips with walnuts.  Raisin:  Add 2-3 Cups ground raisins with walnuts.  Coconut:  Add 1 12-oz package flaked coconut, omit the vanilla and substitute Coconut flavoring.  I like slivered almonds or walnuts with the coconut.  Crushed pineapple:  1 large can crushed pineapple, drained, with pecans.  Cranberry:  1 can whole cranberry sauce.  I like pecans or walnuts with this one.


Tuesday, November 30, 2010

MOTHER'S FAVORITE REFRIGERATOR ROLLS--THE BEST EVER!

This is my mother's recipe for her famous REFRIGERATOR ROLLS--affectionately called "Three Hump Rolls" by all the grand kids.  The dough is very forgiving, and can be stored in the refrigerator until ready to form and bake.  Or, you can immediately let the dough raise and bake as soon as the dough is made.  It's the roll I grew up on, and the one that my mother is famous for.  She made a double batch for our Thanksgiving dinner; a batch makes 3 dozen rolls. She made them ahead of time, and we just put them back in the tins in a warm oven until they were nice and warm again.  They freeze well, and can be frozen for several months. 
MOTHER'S REFRIGERATOR ROLLS
2/3 Cup shortening
1/2 Cup sugar
2 teaspoons salt
1 Cup boiling water
2 Tablespoons yeast
1/2 Cup warm water
4 eggs, beaten
7 1/2 Cups flour
1 Cup ice water
Mix shortening, sugar, and salt.  Add boiling water and whip well.  Soften yeast in the 1/2 Cup warm water, then add to the whipped shortening mixture.  Mix in beaten eggs.  Add flour alternately with ice water.  Knead well.  Cover tightly and store in refrigerator.  Dough may need to be punched down several times before it stops raising in the refrigerator.  When you want to bake rolls, make balls about the size of a walnut and place 3 balls in each individual greased muffin tin.  Let raise 2-3 hours, or until above the tins.  Bake at 400 degrees for 8-10 minutes, or until golden brown.  Turn onto racks and cool after baking.  NOTE:  This dough can be stored in the refrigerator for up to 5 days, and makes 3 dozen.